Summary:
You’ve picked your colors. You’re ready to transform your space. But here’s what most people don’t realize until it’s too late: the quality of your paint job has almost nothing to do with the paint itself.
It’s all about what happens before the first brushstroke. Skipping or rushing preparation is the number one reason paint bubbles, peels, or looks uneven within a year or two. The good news? Proper prep isn’t complicated—it just requires knowing what actually matters.
This guide breaks down the essential steps to take before your house painting project starts, so you get results that last and look professional from day one.
Preparation isn’t about being picky. It’s about physics. Paint needs a clean, stable surface to bond properly.
When you skip prep, you’re asking paint to stick to dust, grease, loose material, or damaged drywall. It won’t. And when it fails, it fails fast—usually within the first year.
Professional painters spend more than half their time on prep for a reason. Surface preparation is what separates a paint job that lasts three years from one that lasts ten. If you’re investing time and money into painting, the prep work is where that investment actually pays off.
Paint applied over dirty walls won’t adhere. Grease, dust, and residue create an invisible barrier that prevents proper bonding. Within months, you’ll see bubbling or peeling, especially in kitchens and bathrooms where moisture is present.
Painting over cracks and holes doesn’t hide them—it highlights them. Paint is thin. It flows into imperfections and actually makes them more visible once it dries, especially in natural light.
If you paint over old, flaking paint without scraping it off first, the new coat will only stick to the failing layer beneath it. When that old paint lets go, your new paint goes with it. You end up repainting the same areas over and over.
Skipping primer is another common mistake. Primer seals porous surfaces, blocks stains, and gives your topcoat something to grip. Without it, you’ll need extra coats to get even coverage—and even then, the paint won’t last as long.
In Michigan, where humidity swings and temperature changes stress painted surfaces, skipped prep shows up even faster. Homes here deal with seasonal expansion and contraction, which means any weak bond will fail quickly.
When you clean, repair, and prime surfaces before painting, you’re creating the conditions for paint to perform the way it’s designed to. Clean walls allow full adhesion. Repaired surfaces give you a smooth canvas. Primer creates a uniform base that helps topcoats bond and cover evenly.
The difference is measurable. A paint job with proper prep can last 8 to 12 years. One without it might start failing in 3 to 4 years—sometimes sooner if conditions are tough.
You also get better coverage with less paint. When surfaces are primed and smooth, paint spreads evenly and doesn’t soak into porous spots unevenly. That means fewer coats and less wasted material.
Proper prep also prevents common problems like streaking, lap marks, and color inconsistency. When your base is solid, the finish looks professional. When it’s not, every flaw shows through.
For homeowners in Richmond, MI, this matters even more. The local climate—humid summers, cold winters—puts extra stress on painted surfaces. Homes built before 1978 may also have lead paint, which requires special handling during prep. Doing it right from the start means you won’t be repainting every few years.
Want live answers?
Connect with a Legends Painting expert for fast, friendly support.
Interior prep starts with clearing the space and protecting what stays. Move small items out entirely—lamps, decor, plants. Shift larger furniture to the center of the room and cover it with drop cloths.
Remove wall hangings, outlet covers, and switch plates. If you’re comfortable doing it, take these down yourself before painters arrive. It saves time and gives you full access to the walls.
Clean your walls with a damp cloth or mild detergent solution. Even walls that look clean have dust and oils that interfere with paint adhesion. Kitchens and bathrooms need extra attention—grease and moisture residue are invisible but problematic.
Walk through each room with a flashlight after dark. Shine it across the walls at an angle—you’ll see every nail pop, crack, and dent you’d otherwise miss. Mark them with painter’s tape so you don’t forget where they are.
Fill small holes and cracks with spackling compound. Use a putty knife to apply it, then smooth it flush with the wall. Let it dry completely—rushing this step leads to shrinkage and uneven surfaces. Once dry, sand it smooth with fine-grit sandpaper.
For larger damage, like drywall cracks or water stains, you’ll need more than spackle. Cracks wider than a hairline should be reinforced with mesh tape and joint compound. Apply the compound in thin layers, letting each dry before adding the next. This prevents cracking and ensures a solid repair.
In Michigan homes, seasonal temperature changes cause wood framing to expand and contract. This movement creates hairline cracks and nail pops, especially around windows and doors. Repairing these before you paint prevents them from showing through and getting worse.
If you’re painting over wallpaper, don’t. Wallpaper needs to come off first. Painting over it leads to bubbling and peeling, especially in humid conditions. Remove it, repair any damage underneath, and prime the walls before painting.
Primer isn’t optional. It seals porous surfaces, blocks stains, and creates a uniform base for your topcoat. If you’re painting over a dark color with a light one, tinted primer saves you from needing three or four coats of paint.
For new drywall or patched areas, use a drywall primer. It seals the porous surface and prevents the topcoat from soaking in unevenly. For stains—water marks, smoke damage, grease—use a stain-blocking primer. Regular primer won’t stop stains from bleeding through.
Paint finish matters just as much as color. Flat and matte finishes hide imperfections but are harder to clean, so they work best in low-traffic areas like bedrooms and dining rooms. Eggshell and satin offer a slight sheen and hold up better to washing, making them ideal for living rooms and hallways.
Semi-gloss and gloss finishes are durable and easy to clean, which is why they’re used on trim, doors, and cabinets. They also highlight imperfections, so the surface needs to be smooth before you apply them. Kitchens and bathrooms benefit from these finishes because moisture and grease wipe off easily.
For Michigan’s climate, choose paints with mildew-resistant properties for bathrooms and kitchens. Humidity is common here, and mildew-resistant paint helps prevent growth on painted surfaces.
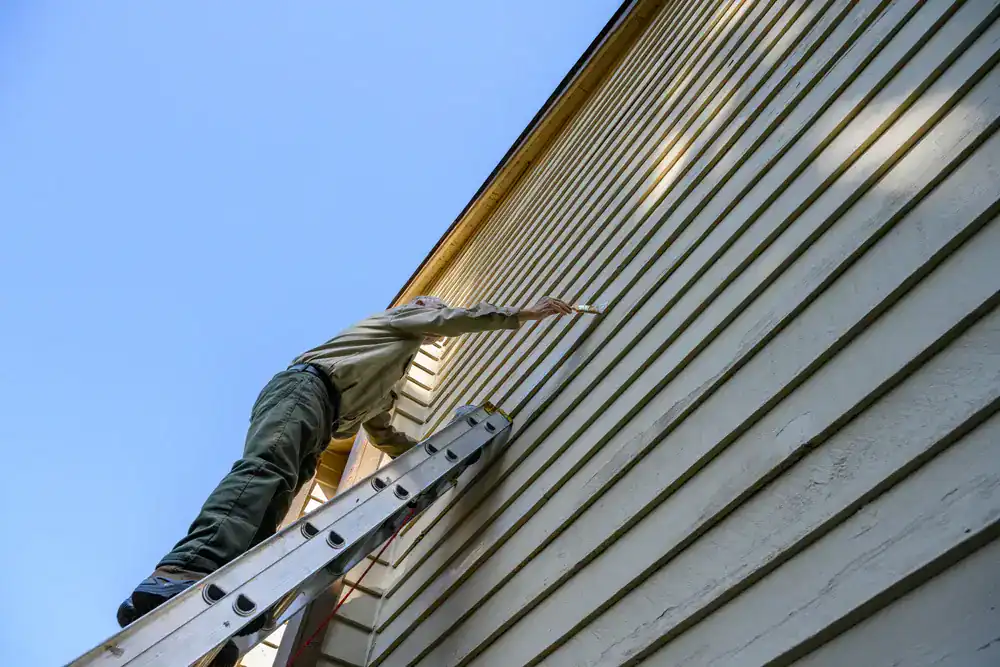
Exterior prep is more intensive than interior work because you’re dealing with years of weather exposure. Start by inspecting the entire exterior for damage—peeling paint, rot, cracks, mildew. Address these before you even think about painting.
Power wash the exterior to remove dirt, mildew, and loose paint. Let the surface dry completely before moving forward—painting over damp siding traps moisture and leads to paint failure. In Michigan, this usually means waiting 24 to 48 hours after washing.
Scrape off any remaining loose or flaking paint by hand. Use a paint scraper and work carefully to avoid damaging the siding underneath. Sand the edges where old paint meets bare wood to create a smooth transition—this prevents visible ridges once you paint.
Article details:
Continue learning: