Summary:
You’ve looked at your kitchen cabinets long enough. The color is dated, the finish is dull, and you know a fresh coat of paint would make the whole room feel different. So the question becomes: do you tackle it yourself or hire someone?
It’s a fair question. The materials look straightforward, the YouTube tutorials make it seem manageable, and the cost difference is real. But cabinet painting is one of those projects where the gap between a good result and a frustrating one comes down to things most homeowners don’t find out about until it’s too late. Here’s what’s actually going on under the surface.
Wall paint is designed to cover large, flat surfaces that don’t see much physical contact. Cabinets are different. They get touched dozens of times a day, they’re exposed to cooking grease, steam, and temperature swings, and they need to hold up to cleaning with actual household chemicals. That’s a completely different performance requirement — and it demands a completely different product.
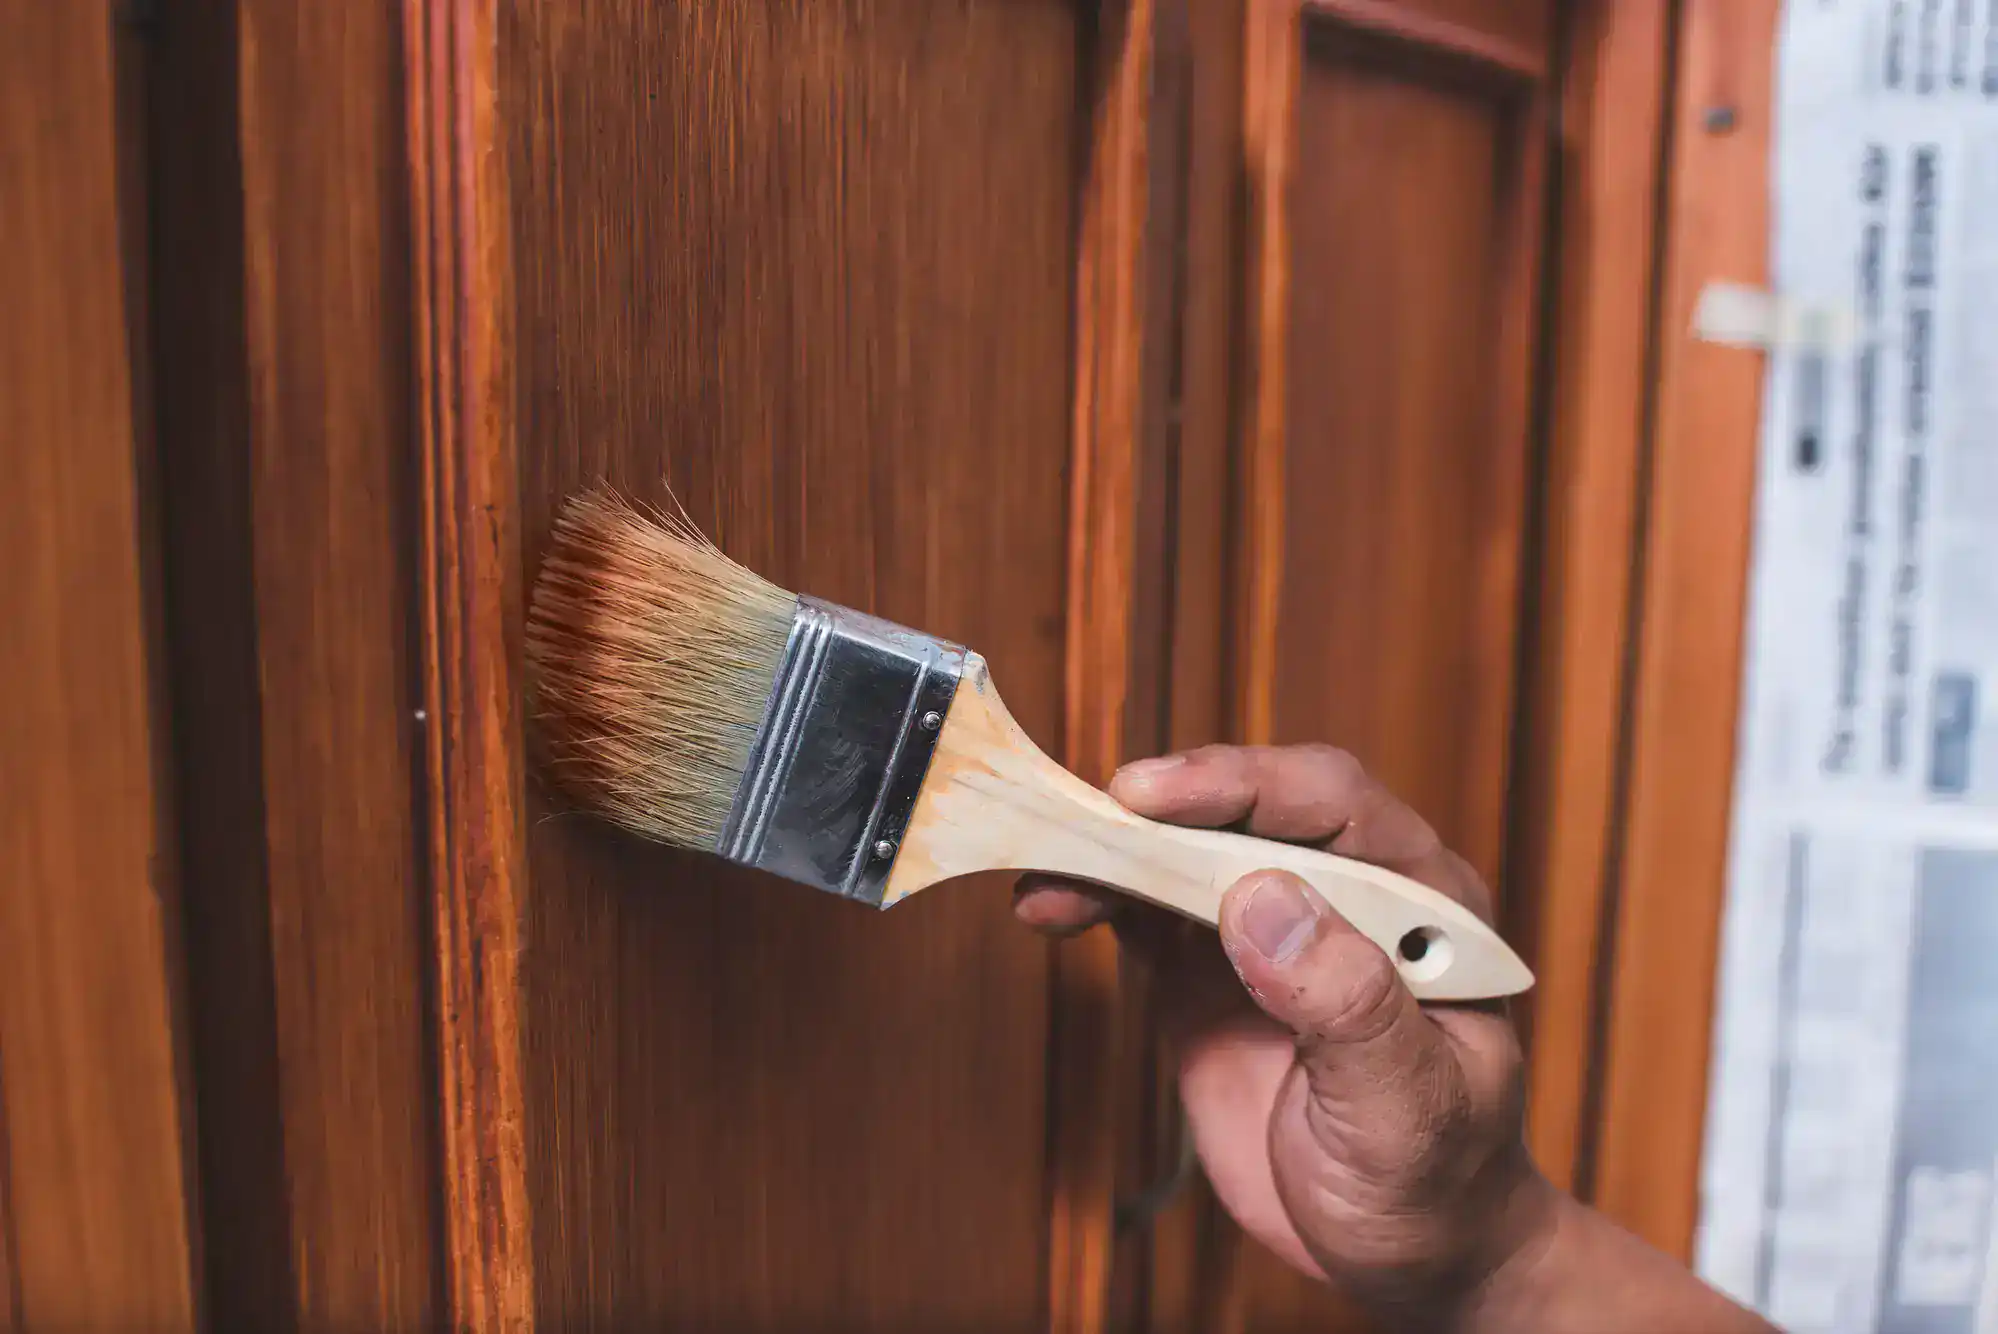
Standard latex wall paint doesn’t have the hardness or chemical resistance that kitchen cabinets need. It may look fine for the first few months, but it won’t hold up to the daily wear a kitchen puts on it. We use cabinet-specific coatings — products formulated to cure into a hard, durable surface that resists moisture, grease, and repeated contact. That distinction alone explains most of the difference between a finish that lasts and one that starts chipping before the year is out.
Laminate cabinets are more common than most homeowners realize, especially in homes built or renovated in the last two to three decades. They’re practical, they’re affordable, and they’ve become increasingly prevalent as the cost of custom cabinetry has climbed. But laminate presents a specific challenge when it comes to paint: the surface is non-porous.
Paint needs something to grip. On raw wood, it soaks in slightly and bonds to the surface. On laminate — which is essentially a plastic-coated material — there’s nothing to grip. If you skip the right prep steps, the paint will look fine for a few weeks and then start to peel, usually right at the edges and corners where the surface flexes most.
The fix isn’t complicated, but it requires knowing what you’re dealing with. Laminate cabinets need to be thoroughly deglossed first, which scuffs up the surface enough to give the primer something to hold onto. Then they need a bonding primer specifically formulated for non-porous surfaces — not a standard drywall primer, not whatever’s on the shelf at the hardware store. Skip either of those steps and you’re setting yourself up for adhesion failure, no matter how careful you are with the topcoat.
Even with the right products, spray application makes a significant difference on laminate. A brush or roller leaves texture on a surface that’s naturally smooth, and that texture becomes very obvious once the paint dries. Professional spray equipment applies an even, consistent coat that sits flat — which is exactly what you want on a cabinet door. Most homeowners don’t own that equipment, and using it well takes practice that comes from doing it repeatedly on actual jobs.
In Macomb County, where newer subdivisions in places like Shelby Township and Macomb Township often feature laminate cabinetry, this is a genuinely common situation. The cabinets are structurally fine — they just need the right approach to get a finish that actually holds.
Oak cabinets tell a different story. If your home was built or renovated between the mid-1980s and late 1990s — which describes a large portion of Macomb County’s housing stock in Warren, Sterling Heights, and Clinton Township — there’s a good chance you have honey oak cabinets in your kitchen. They were everywhere, and they’re structurally solid. But they present their own set of challenges when it comes to painting.
Oak has an open grain. That means the wood surface has a visible texture — small channels running through it — that shows through paint if you don’t address it first. Run your hand across an unpainted oak cabinet door and you can feel it. Now imagine applying two coats of paint over that texture without doing anything to fill it. The grain telegraphs right through the finish, and instead of smooth painted cabinets, you end up with painted cabinets that still look like wood — just colored wood, which isn’t what anyone was going for.
We handle this with grain filler, applied before priming, which fills in those channels and creates a smoother base for the paint to sit on. After that, a high-build primer adds another layer of filling and leveling before the topcoat ever goes on. It’s not a quick step. It adds time to the process. But it’s the difference between a finish that looks like new cabinetry and a finish that looks like someone painted old oak cabinets.
The other issue with oak is tannin bleed. Oak contains natural tannins that can seep through paint and cause yellowing or discoloration, especially with lighter colors. A standard primer won’t block this. The right stain-blocking primer will. It’s one of those things that’s easy to get right if you know to look for it, and easy to get wrong if you don’t.
Michigan’s climate adds one more layer to this. Wood expands and contracts with temperature and humidity changes, and in a state with winters as cold as ours and summers as humid, that movement is real. A paint system that doesn’t flex with the wood will crack over time, particularly around door edges and corners. Professional-grade coatings are formulated with this in mind. Standard wall paint is not.
Want live answers?
Connect with a Legends Painting expert for fast, friendly support.
One of the most common misconceptions about professional cabinet painting is that it’s just painting — same as doing it yourself, just done by someone else. Our process is actually quite different, and the difference starts before a single coat of paint goes on.
Every cabinet door and drawer front comes off. Hardware gets removed and set aside. Surfaces get thoroughly cleaned and degreased — kitchens accumulate grease in places you don’t always notice, and paint won’t bond properly to a greasy surface no matter how good the primer is. Then comes the sanding, the priming, and finally the spray application of the topcoat. Most of our jobs in a standard-sized kitchen wrap up in three to seven business days, and the kitchen stays accessible throughout most of that time.
If you talk to anyone who has done a lot of cabinet work, they’ll tell you the same thing: the prep is where the job is won or lost. The actual painting is almost secondary. A well-prepped cabinet surface will hold paint for years. A poorly prepped one will start showing problems within months, sometimes weeks.
Degreasing is step one, and it matters more than most people expect. Kitchen cabinets — especially the ones above the stove and around the range — accumulate a film of cooking grease that’s nearly invisible but very real. Paint applied over that film doesn’t bond to the cabinet; it bonds to the grease, which eventually releases. That’s where peeling starts.
After cleaning comes sanding. Not aggressive sanding that removes material, but a careful scuffing that creates a mechanical profile for the primer to grip. On wood cabinets, this also raises the grain slightly, which then gets knocked back down before priming. On laminate, it’s the critical step that makes adhesion possible at all.
Priming is where material-specific knowledge really matters. The wrong primer on laminate won’t bond. The wrong primer on oak won’t block tannins. A standard drywall primer on either one is a shortcut that shows up as a problem six months later. We know which primer goes on which surface and why — and we’re not guessing based on what’s on sale.
The final step before paint is inspection. We check for any remaining surface irregularities, fill them, and make sure the substrate is as smooth and clean as it can be before the topcoat goes on. That’s the foundation that makes the spray application look as good as it does. Without it, even the best equipment and the best paint can’t fully compensate.
The most common question we hear is some version of: “Can’t I just do this myself and save the money?” The honest answer is yes, you can try — but the success rate is lower than most people expect going in, and the failure modes are very visible. Cabinets are one of the first things anyone notices in a kitchen. Brush marks, uneven sheen, peeling corners, or grain showing through aren’t subtle. They’re right there every time you walk in.
About a third of homeowners who attempt a DIY home renovation project end up hiring a professional to fix or redo it. For cabinets specifically, that often means stripping the paint back down to bare wood or laminate and starting over — which costs more in time and materials than just hiring someone from the start would have.
Another question that comes up often: “Will painted cabinets hold up in a Michigan kitchen?” Yes, when they’re painted correctly with the right products. The challenge is that Michigan’s climate is harder on finishes than many homeowners realize. The temperature swings between January and July in Macomb County are significant, and humidity levels vary considerably across seasons. Professional-grade cabinet coatings are formulated to handle that kind of movement. They cure harder than wall paint, they flex better, and they’re specifically designed for high-contact, high-moisture environments.
People also ask whether painted cabinets will look as good as new ones. With spray application and cabinet-specific coatings, the finish is smooth, consistent, and hard — the same qualities that made your cabinets look good when they first came out of the factory. The visual result is genuinely comparable to new cabinetry, at a fraction of the cost. Full cabinet replacement in a standard Macomb County kitchen can run $20,000 or more. Professional cabinet painting delivers a comparable transformation for significantly less, with the kitchen back in use within a week.
One more: “Do you have to move out while it’s being done?” No. Cabinet painting doesn’t require vacating the house. The kitchen is less convenient during the project, but most of the work happens in a contained area and the space remains accessible. It’s a much smaller disruption than a full renovation.
If your cabinets are structurally sound — doors hang straight, no rot, hardware works — but the finish is dated or worn, professional painting is almost always worth considering before replacement. The results are durable when done right, the process is faster than most homeowners expect, and the cost difference compared to new cabinetry is substantial.
The key is doing it right. That means the right prep, the right primer for your specific cabinet material, and the right topcoat applied with professional spray equipment. It means someone who knows the difference between painting laminate and painting oak, and adjusts accordingly.
If you’re in Macomb County and you’re weighing your options, we offer free consultations and will give you a straight answer about what your cabinets need and what it will cost. No pressure, no upselling — just an honest look at the job.
Article details:
Continue learning: