Summary:
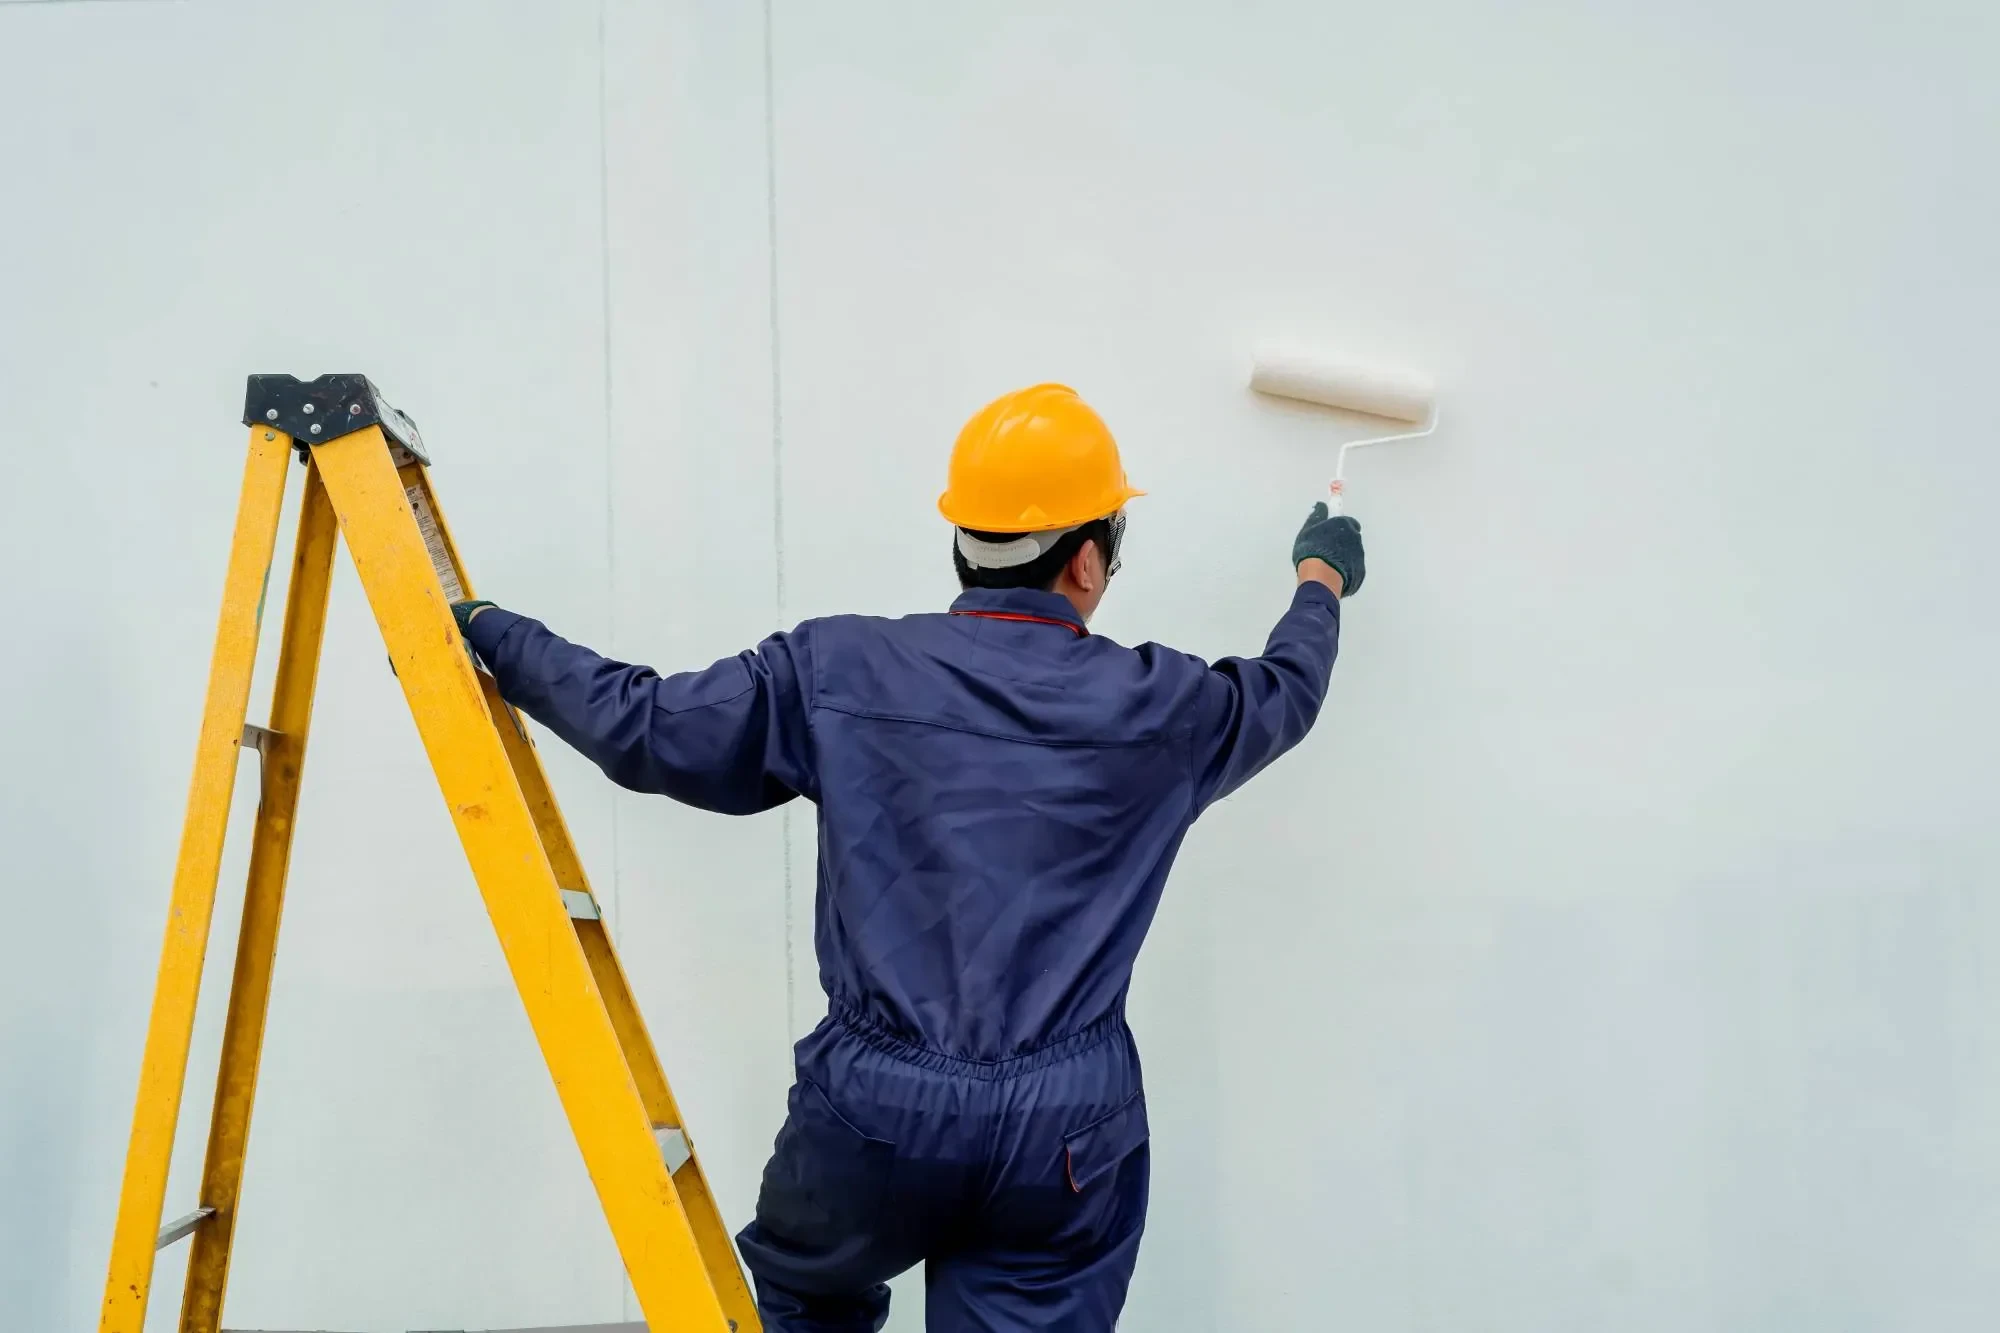
Before we pick up a brush, we conduct a thorough surface inspection. This isn’t a quick glance—it’s a systematic evaluation of every wall, ceiling, and trim piece.
We look for nail holes, screw pops, cracks in drywall tape, water damage, and areas where previous paint is peeling or flaking. We check for loose joint compound, uneven textures, and any signs of moisture problems that could affect paint adhesion.
The goal is identifying every imperfection that could show through the final paint job. Missing even small issues during this phase means they’ll become obvious problems later.
Small holes from nails, screws, or everyday wear get filled with lightweight spackling compound or paintable caulk. We don’t just dab and go—we slightly overfill each hole, then sand it smooth once dry.
For nail pops, we first secure the loose drywall with a new screw placed about an inch away from the popped nail. We then either remove the old nail or drive it back into the wall before filling both holes with joint compound.
The key is using the right material for each repair. Spackling works for small holes, but larger gaps need mesh patches or self-adhesive repair patches for proper reinforcement. We know which approach prevents future cracking.
Each repair gets sanded smooth with fine-grit sandpaper once completely dry. The surface should feel perfectly flush with the surrounding wall—no bumps, ridges, or depressions that would show through the paint.
Cracks in drywall and failing joint tape require more involved repairs. We start by cutting away any loose or bubbling tape with a utility knife, creating clean edges around the damaged area.
For hairline cracks, we widen the crack slightly with a knife, then fill it with joint compound, feathering the edges to blend with the surrounding surface. Multiple thin coats work better than one thick application.
When joint tape has failed, we remove the damaged section and apply new tape with fresh joint compound. We use either paper tape with joint compound or self-adhesive mesh tape, depending on the location and stress the joint will experience.
The repair process involves applying compound, letting it dry completely, sanding smooth, and often repeating with a second coat. Each layer extends slightly beyond the previous one, creating a seamless transition that becomes invisible under paint.
We understand that rushing these repairs leads to visible lines and texture differences in the finished paint job. We allow proper drying time between coats and sand carefully to avoid creating new imperfections.
Want live answers?
Connect with a Legends Painting expert for fast, friendly support.
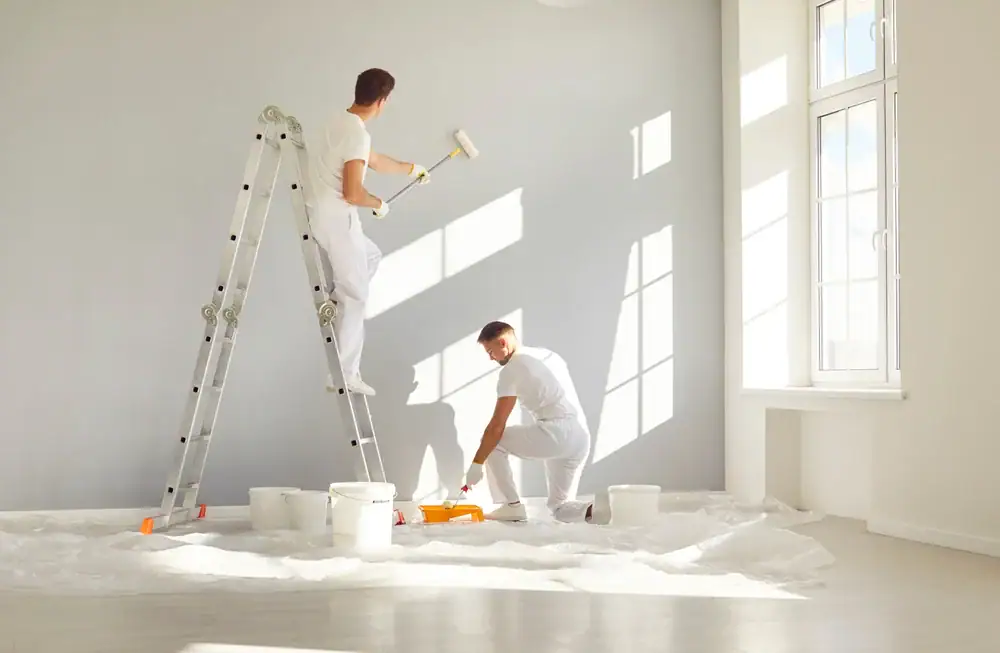
Once repairs are complete, we focus on surface preparation. This means cleaning walls to remove dust, dirt, and any residue from the repair process.
We sand glossy surfaces lightly to create “tooth” for better paint adhesion. Previously painted walls with semi-gloss or gloss finishes get scuffed with fine sandpaper so new paint can grip properly.
All sanding dust gets removed with tack cloths or damp rags. Any remaining dust will create texture problems in the final paint job.
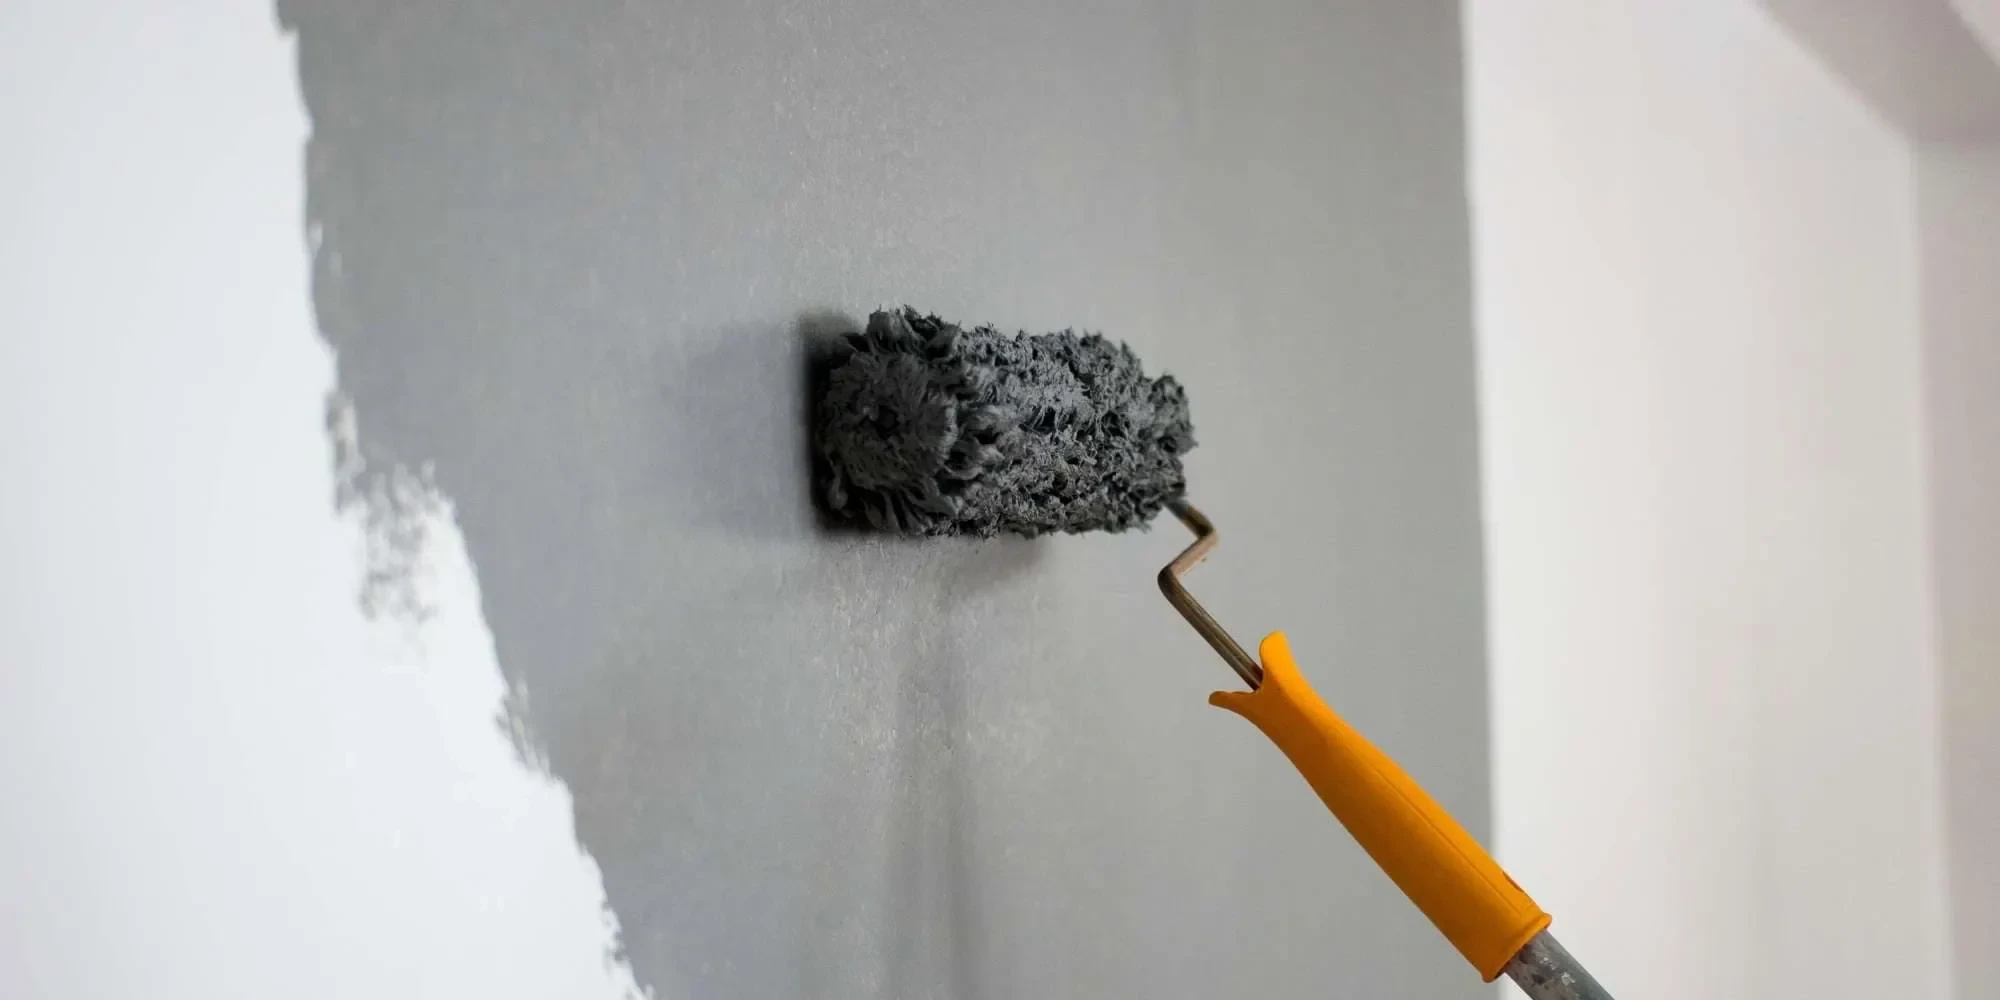
Primer isn’t optional for us—it’s essential for quality results. We apply primer to all repaired areas, even if the rest of the wall doesn’t need it, because joint compound and spackling absorb paint differently than surrounding drywall.
Spot priming prevents “flashing,” where repaired areas show through the topcoat as dull or shiny spots. For significant repairs or color changes, we prime entire walls to ensure uniform appearance.
We choose the right primer for each situation. PVA primer works well for new drywall, while high-adhesion primers handle glossy surfaces or dramatic color changes. Stain-blocking primers seal water stains or other discoloration.
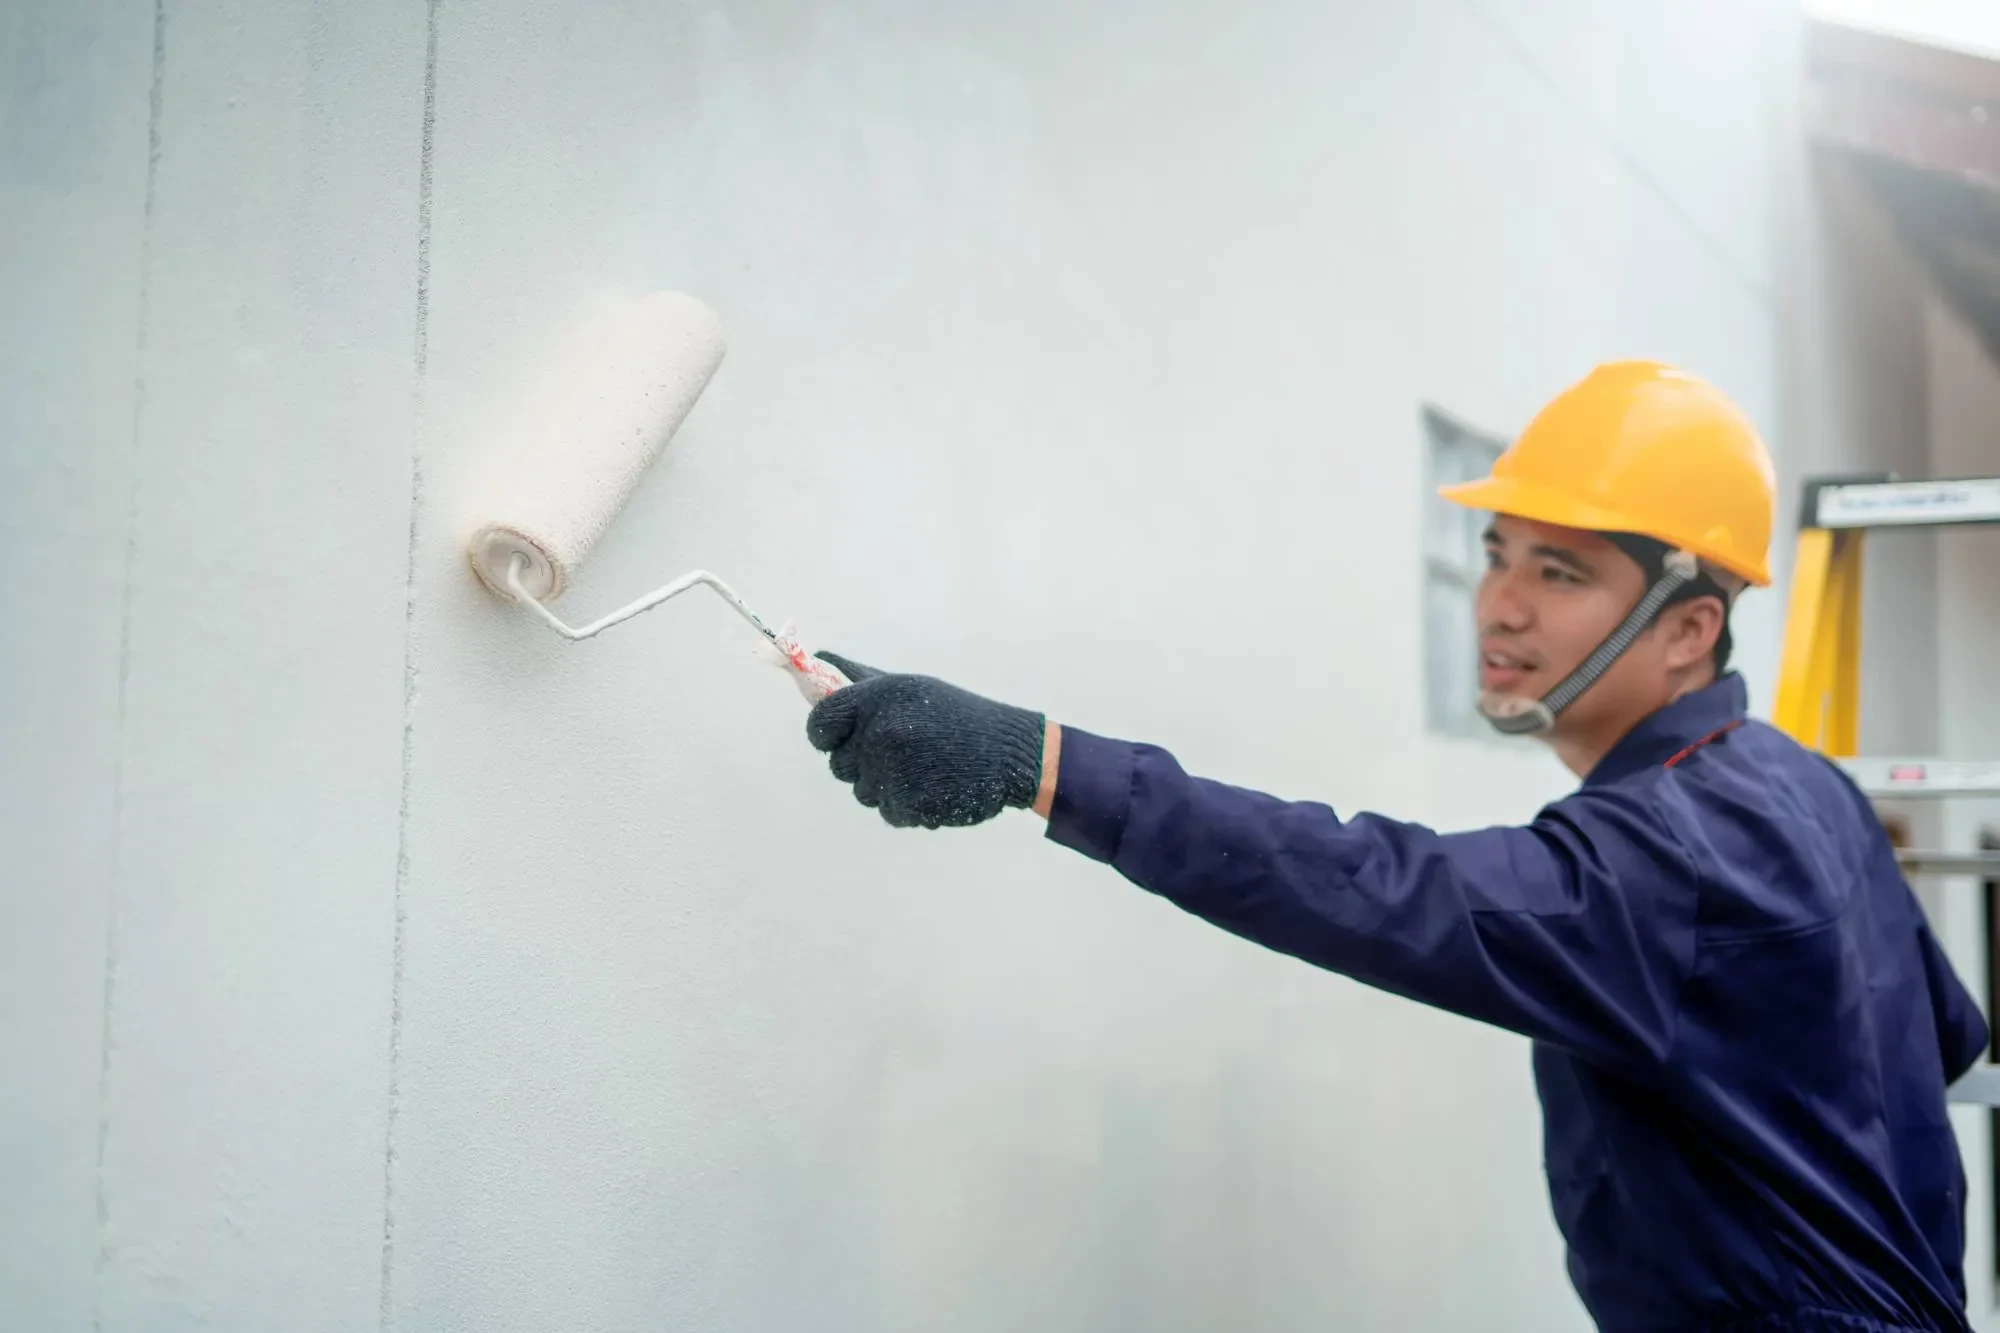
We apply primer with the same care as topcoat paint, using proper brush and roller techniques to avoid brush marks or roller stipple. Once primer dries, we often sand lightly with fine-grit paper to remove any texture imperfections.
The primer creates a uniform surface that allows topcoat paint to lay evenly and achieve its intended color and sheen. Skipping primer or using paint-and-primer combinations rarely delivers the same professional results.
Michigan’s climate creates unique challenges for surface preparation. We must consider humidity levels, temperature swings, and moisture content when scheduling repair work.
High humidity slows drying times for joint compound and primer, so we adjust our schedules accordingly. We avoid exterior surface prep during Michigan’s wet seasons and plan interior work around heating and cooling cycles that affect humidity.
Temperature matters too. Joint compound doesn’t cure properly in cold conditions, and primer needs adequate warmth to form a proper film. We often use fans or adjust indoor temperatures to create optimal conditions.
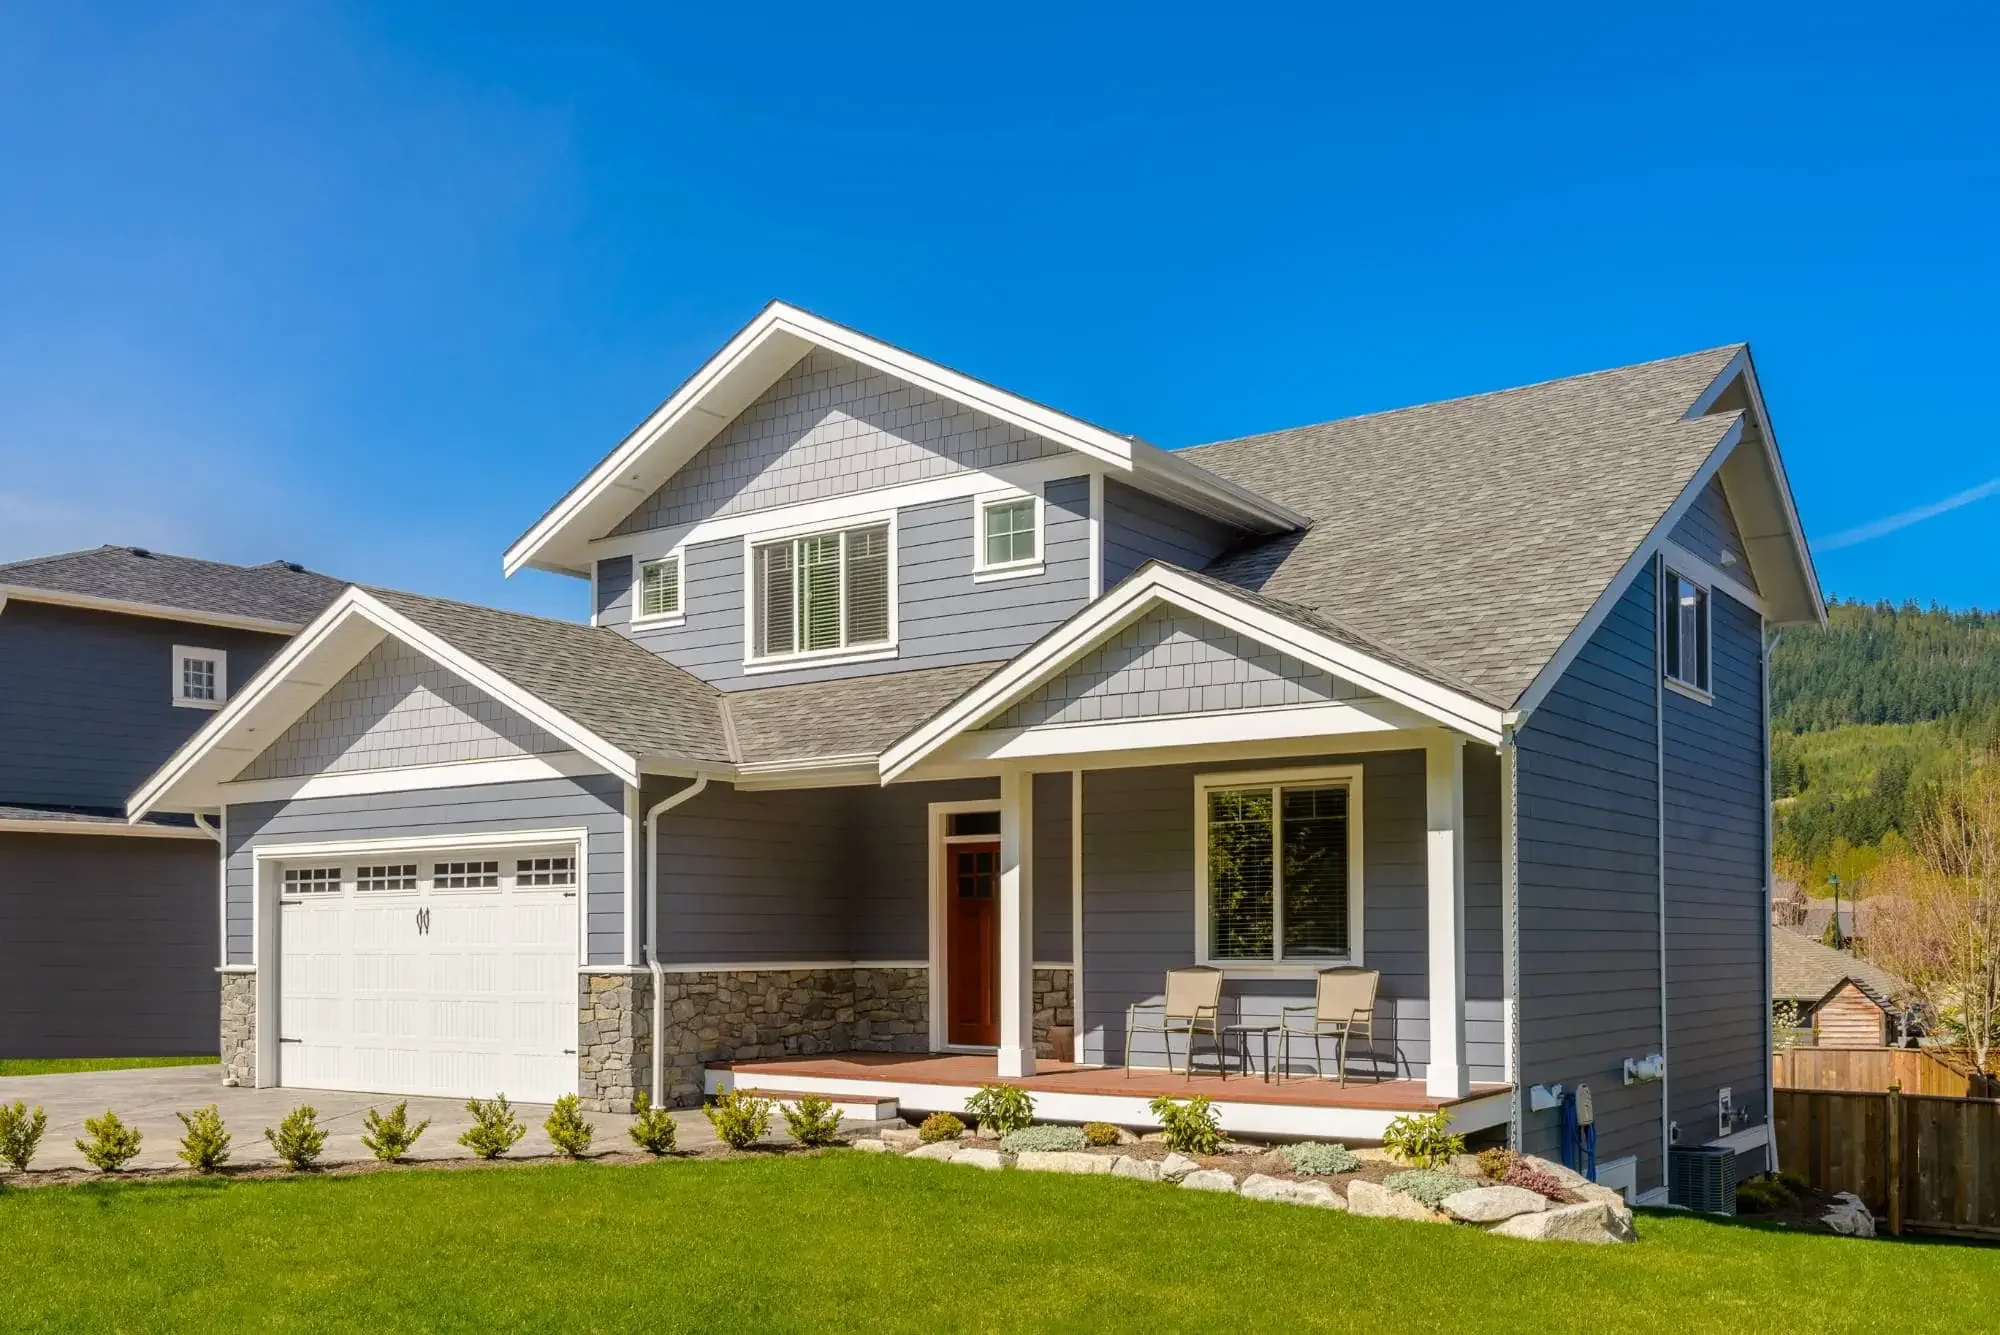
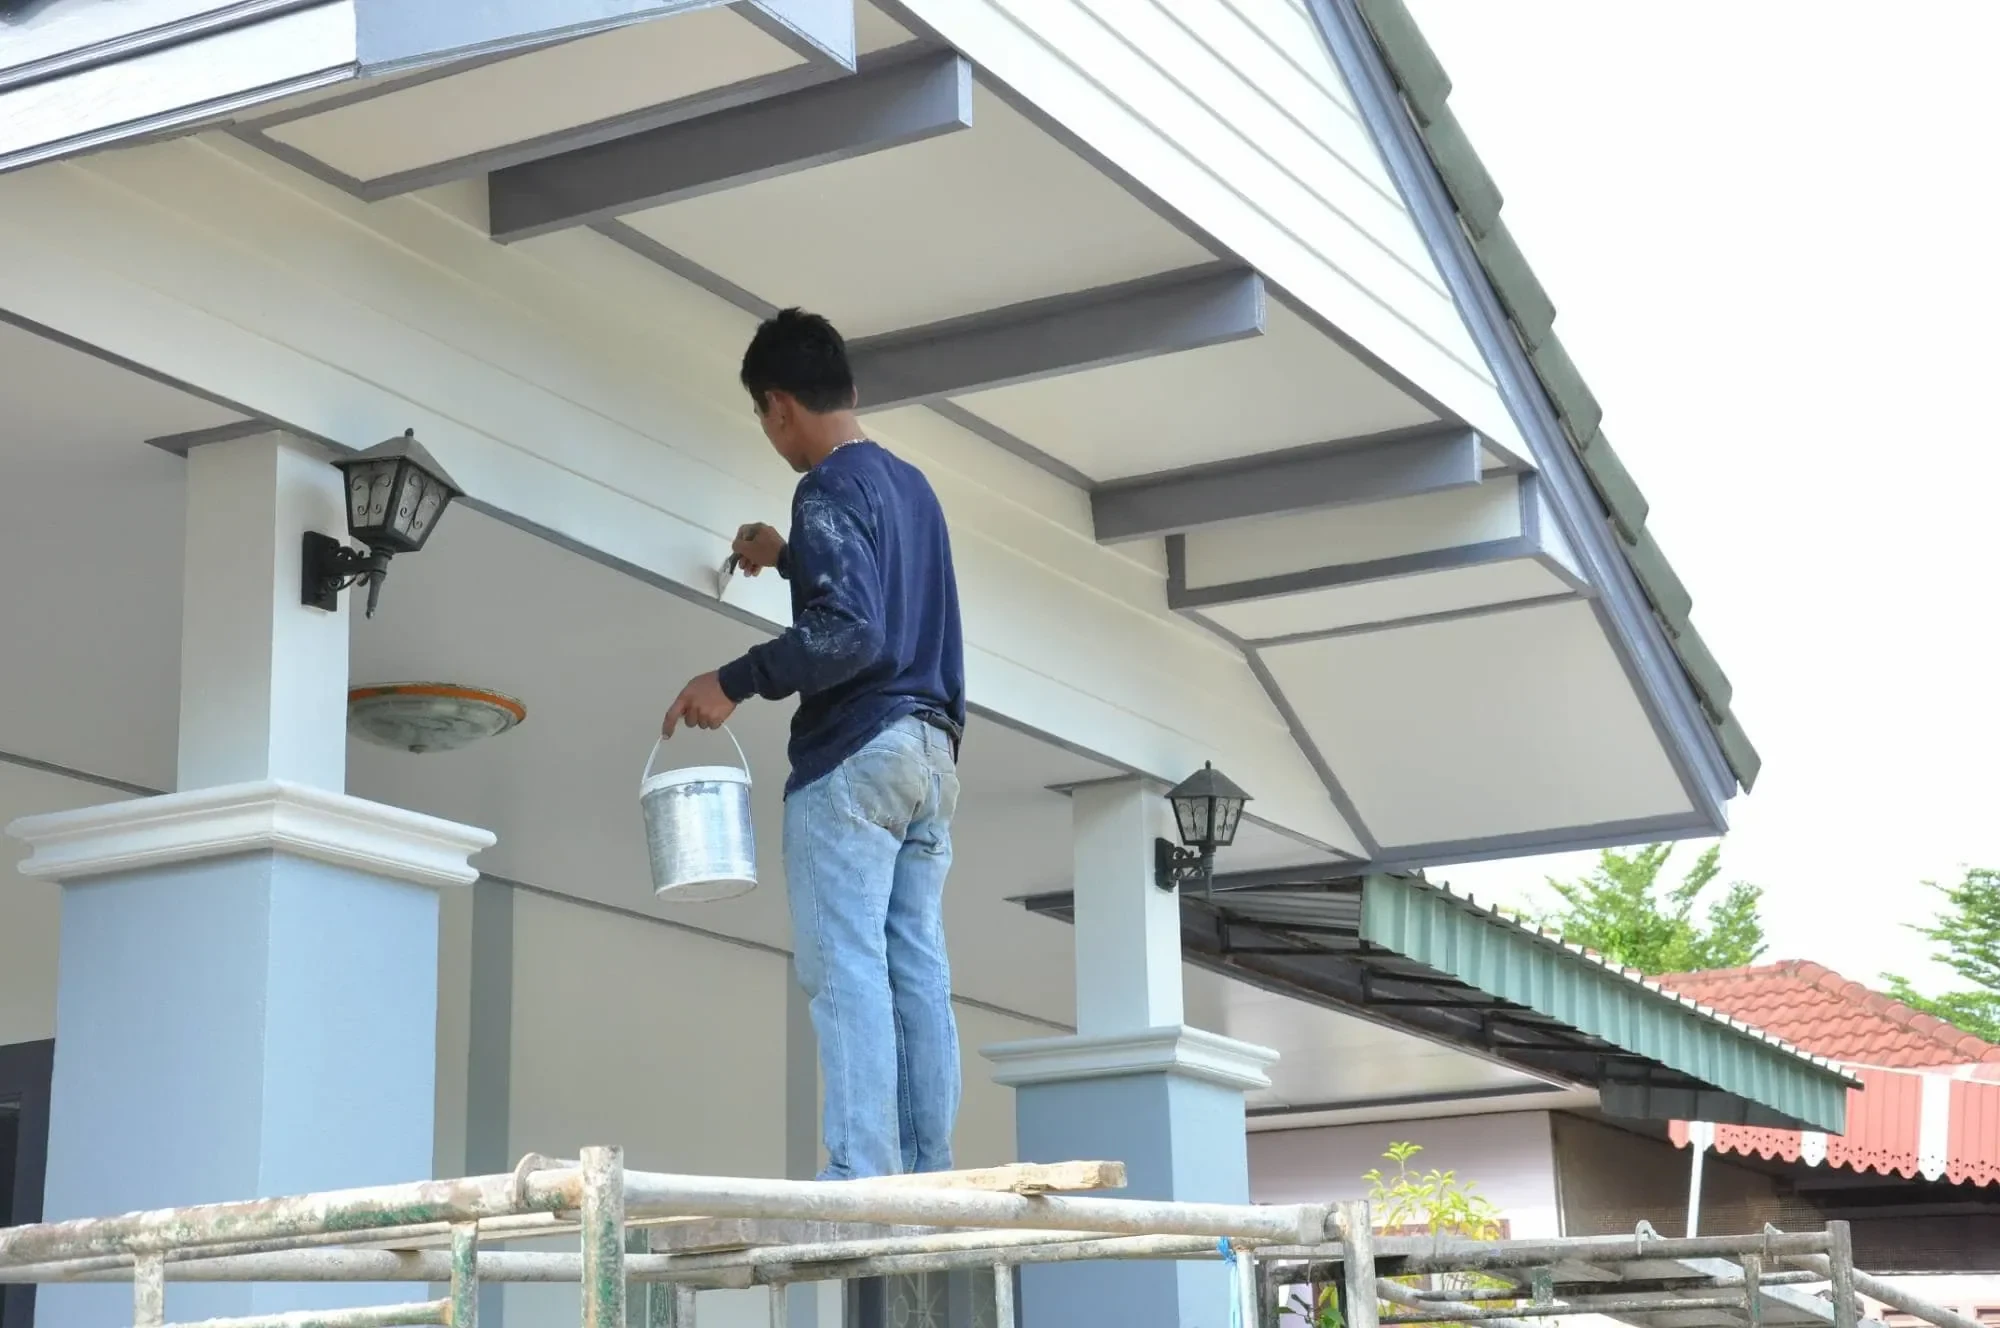
For exterior work, we know that Michigan’s freeze-thaw cycles can cause new cracks and joint failures. We inspect and repair these issues each spring before exterior painting begins, understanding that proper surface prep prevents winter damage from showing through summer paint jobs.
Timing repairs properly means allowing adequate drying time between coats, even if it extends the project timeline. Rushing surface preparation to meet deadlines always compromises the final result.
Professional surface preparation separates quality contractors from those who just apply paint. Every hole filled, crack repaired, and surface properly primed contributes to a paint job that looks better and lasts longer.
The difference shows in the final result. Properly prepared surfaces create smooth, even finishes that highlight your paint color choice rather than underlying imperfections. More importantly, they prevent premature paint failure that leads to costly repaints.
When choosing a painting contractor, ask about their surface preparation process. At Legends Construction LLC, we understand that thorough prep work is the foundation of every successful paint job, ensuring your investment delivers lasting beauty and protection.
Article details:
Continue learning:
Company
Support
Useful Links