
Summary:
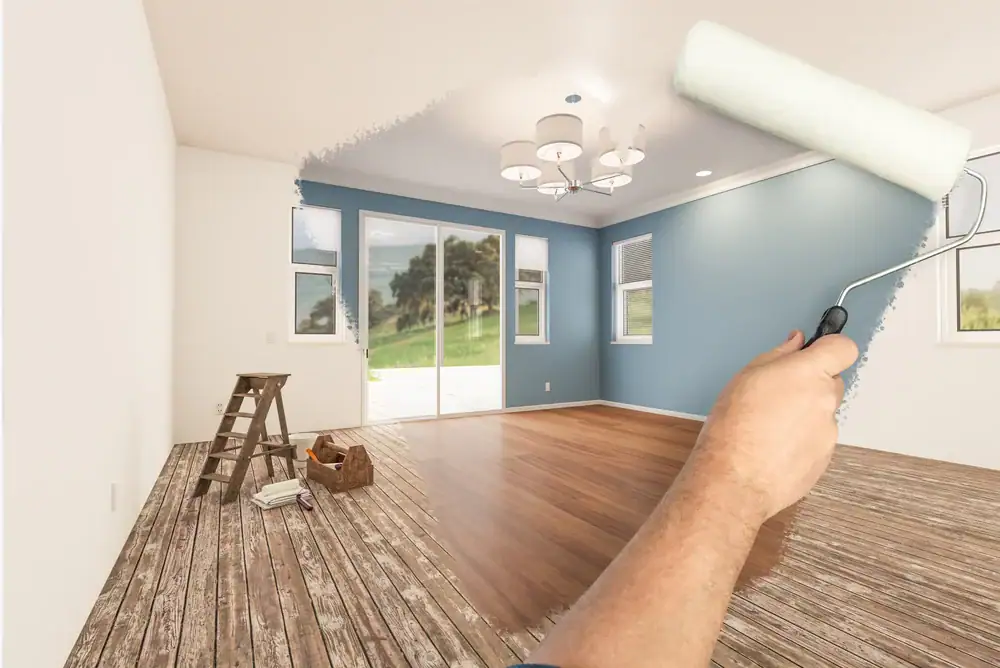
Finding the right house painting contractor means more than picking someone with a brush and a ladder. You need someone who understands how colors transition across sightlines, how to prep surfaces properly for Michigan’s climate, and how to deliver professional painting estimates that won’t double by the time we finish. Let’s walk through what actually matters when you’re hiring a local painter for spaces where everything connects.
Open-concept living means your paint choices are visible from multiple rooms at once. Stand in your kitchen and you’re probably looking straight into the living room and maybe catching a glimpse of the hallway. Traditional homes gave you the luxury of closing a door and starting fresh with a new color. You don’t have that option anymore.
The challenge isn’t just picking colors you like. It’s creating visual flow so your home feels intentional instead of chaotic. When colors clash across open sightlines, your space feels disjointed no matter how nice your furniture is. The goal is making distinct areas feel connected while still giving each zone its own character.
Professional painters who understand open-concept spaces know that color transitions need natural stopping points. We look for architectural features like columns, changes in ceiling height, or shifts in flooring that signal where one area ends and another begins. Without these guides, color changes can feel random and jarring.

Creating color flow starts with limiting your palette. Most design experts suggest sticking to three or four colors maximum for your entire main living area. More than that and your home starts feeling scattered. Pick one dominant neutral that anchors the space, then layer in one or two accent colors that show up in different concentrations throughout.
One approach that works well is choosing colors from the same family but in different intensities. Maybe your living room gets a medium gray, your dining area uses a lighter version of that same gray, and your kitchen features the gray as an accent while white takes over as the main wall color. You’re working within one color story, just varying how much of each shade appears in different zones.
Pay attention to undertones. If your living room has warm beige walls, don’t jump to a cool gray in the adjacent dining space. The temperature shift will feel abrupt even if both colors are neutrals. Warm tones should flow into other warm tones. Cool colors should transition to other cool colors. This keeps your eye moving smoothly instead of stopping abruptly where colors clash.
Another strategy is using the 60-30-10 rule. Sixty percent of your space uses your dominant color, thirty percent uses your secondary color, and ten percent is reserved for accent colors in decor and small details. This formula prevents any single color from overwhelming the space while maintaining enough variety to keep things interesting.
Think about what you see from your most-used vantage points. Sit on your couch and look around. Stand at your kitchen sink and notice what’s in view. These sightlines matter more than anything else because that’s where you’ll actually experience the color combinations daily. If two colors look off when viewed together from your favorite chair, they’ll bother you every single day.
Don’t forget about your trim and ceiling colors. Keeping trim consistent throughout your open space acts as a unifying thread that ties everything together even when wall colors change. White or cream trim works with almost any wall color and creates clean transitions between different zones.
The biggest mistake is treating each area like a separate room. You can’t just pick your favorite blue for the living room, your favorite green for the dining area, and your favorite beige for the kitchen without considering how they work together. What looks great on individual paint chips can create chaos when you’re seeing all three colors simultaneously from your couch.
Another common problem is ignoring how natural light changes throughout the day. That gray that looked perfect in the store might read completely different in your north-facing living room versus your south-facing kitchen. Colors shift dramatically based on the light they receive, and in open-concept homes, you’re often dealing with windows on multiple walls bringing in light from different directions.
Homeowners also underestimate the importance of testing paint samples in their actual space. Those tiny paint chips don’t tell you anything useful. You need to see a decent-sized section of color on your actual walls, in your actual lighting, at different times of day. Paint a two-foot square section and live with it for a few days before committing to gallons of the stuff.
Rushing the decision is another mistake that’s hard to undo. Paint is one of the more affordable ways to transform a space, but it’s not so cheap that you want to do it twice because you made a hasty choice. Take the time to really consider how colors work together across your sightlines. Bring home samples. Look at them in morning light and evening light. See how they feel on a sunny day versus a cloudy one.
Some people also make the mistake of painting everything the same color thinking it’ll create flow. It can work, but it often makes large open spaces feel flat and monotonous. You lose the opportunity to define different zones and add visual interest. A better approach is using variations of your main color or introducing complementary shades that add depth while maintaining cohesion.
Finally, many homeowners don’t consider their existing elements. If you have hardwood floors with warm orange undertones, choosing a paint color with cool blue undertones will create a clash that’s hard to ignore. Your paint needs to work with your flooring, your countertops, your furniture, and any other fixed elements that aren’t changing. Ignoring these existing pieces is a recipe for a color scheme that never quite feels right.
Want live answers?
Connect with a Legends Painting expert for fast, friendly support.
Finding a house painter isn’t complicated, but finding a good one requires asking the right questions and knowing what actually matters. Anyone can buy paint and brushes. Not everyone can deliver work that lasts and looks professional once we’re gone.
Start with insurance and credentials. A legitimate painting contractor carries general liability insurance at minimum. This protects you if something goes wrong during the project. Ask to see proof of insurance before you agree to anything. If someone hesitates or makes excuses, move on to someone else.
Experience matters, but recent experience matters more. Ask for references from jobs completed in the last year, not five years ago. You want to know how we’re operating now, not how we worked back when we first started. Call those references and ask specific questions about communication, timeline accuracy, cleanliness, and whether the final cost matched the estimate.
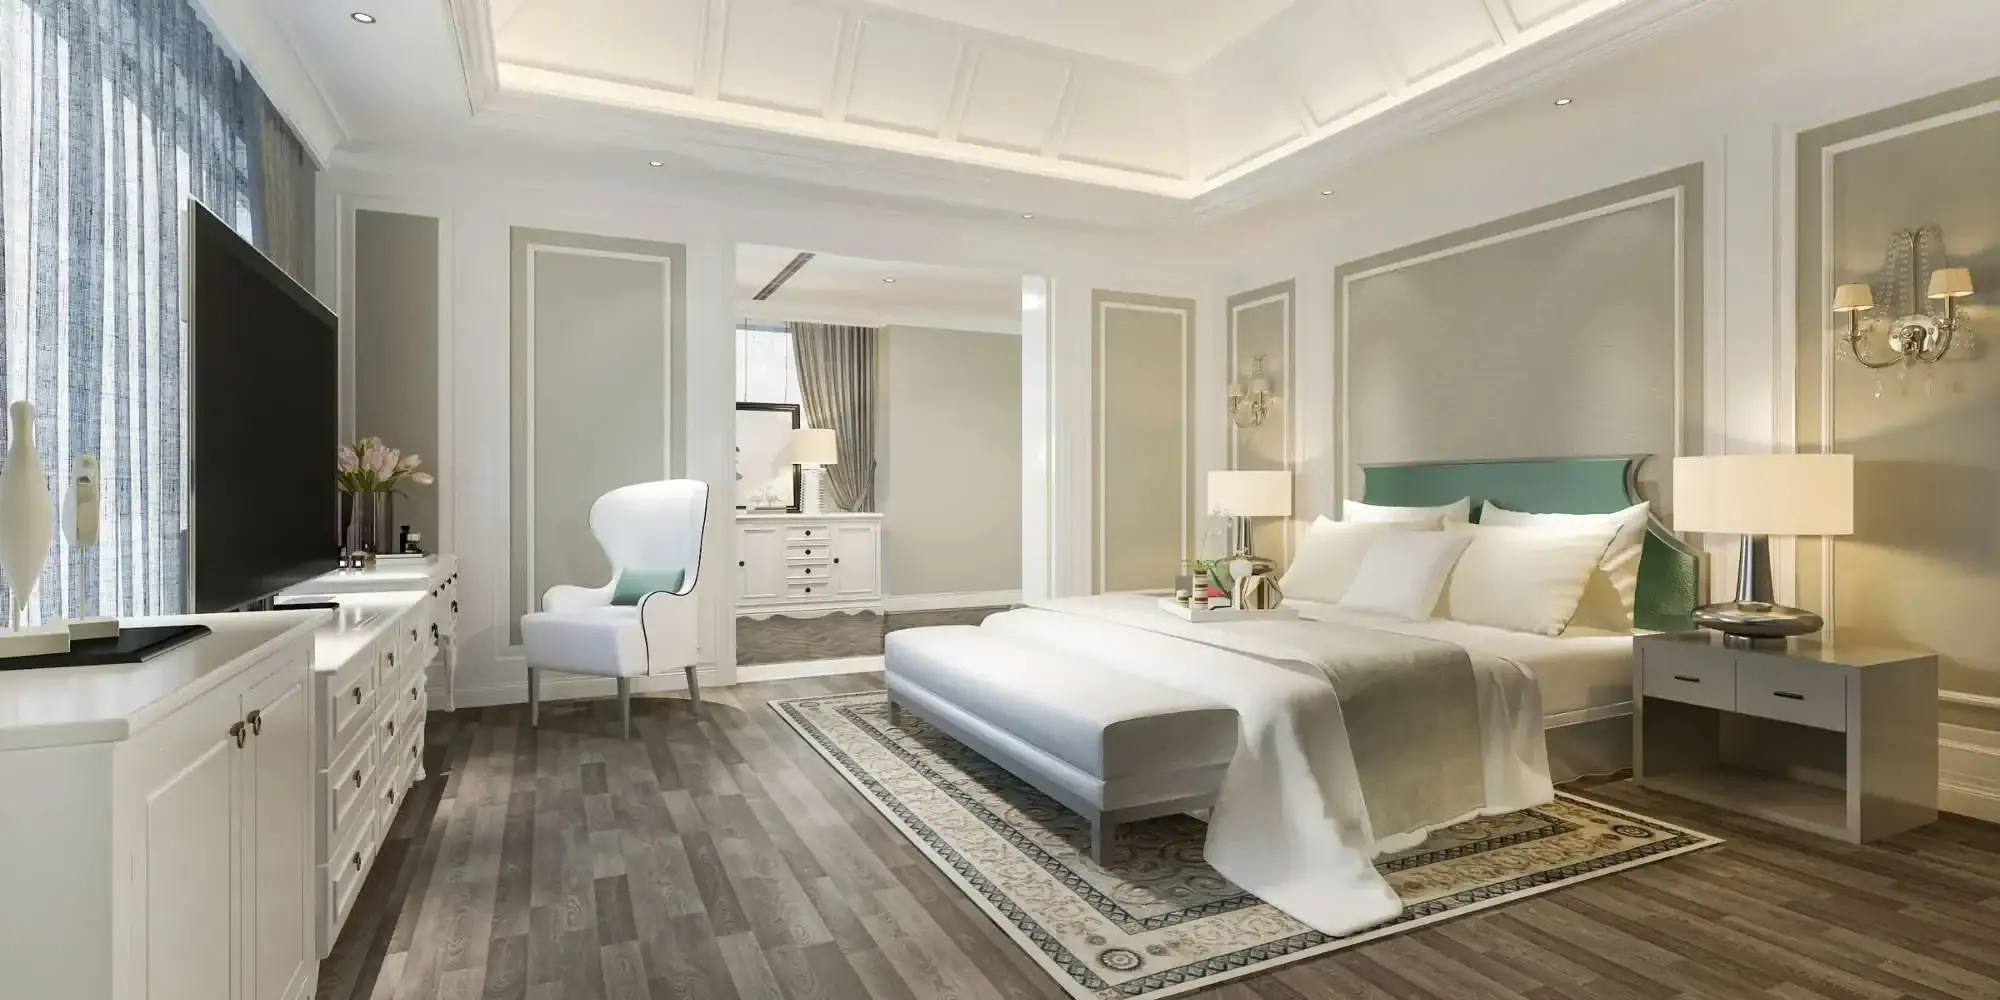
A professional painting estimate should break down exactly what you’re paying for. If someone gives you one number with no details, that’s a red flag. You need to see line items for prep work, materials, labor, and any additional services like moving furniture or repairing damaged walls.
Prep work should be spelled out clearly. What exactly are we doing to prepare your surfaces? Are we cleaning walls, filling holes, sanding rough spots, caulking gaps, and applying primer? If the estimate just says “prep as needed,” push for specifics. Vague prep descriptions usually mean corners will be cut, and that’s where paint jobs fail.
The number of coats matters significantly. One coat of paint is not the same as two coats, even if we’re using expensive paint. Most professional jobs require at least two coats for even coverage and durability. Make sure your estimate specifies how many coats you’re getting and whether primer is included as a separate step or if we’re using paint-and-primer-in-one products.
Ask about the paint quality we’re planning to use. Premium paints cost more upfront but cover better, last longer, and resist wear and tear. If you’re comparing estimates and one is significantly cheaper, check whether we’re planning to use builder-grade paint versus premium brands. The quality difference will show up within a year or two.
Timeline and payment schedule should be crystal clear in your estimate. When does work start? When should it be finished? How much do you pay upfront, and when are remaining payments due? Reputable painters typically ask for a deposit to secure your spot and buy materials, then collect the balance upon completion. Be wary of anyone asking for full payment upfront.
Get everything in writing. A verbal agreement means nothing if problems arise. Your written estimate should become a contract that both parties sign. It should include the scope of work, materials being used, timeline, payment schedule, and what happens if unexpected issues come up. This protects both you and us by setting clear expectations from the start.
Don’t automatically go with the lowest bid. Sometimes the cheapest option really is the best value, but often it means someone is cutting corners you’ll pay for later. Compare what each estimate includes, not just the bottom-line number. A slightly higher bid that includes better prep work and premium materials is usually worth the extra cost.
Surface preparation is where quality painters separate themselves from amateurs. The prep work determines how long your paint job lasts and how good it looks once we’re gone. Skipping or rushing this step is the number one reason paint fails prematurely.
Proper prep starts with cleaning. Even walls that look clean have dust, oils, and residue that interfere with paint adhesion. We use degreasing agents to remove invisible buildup from cooking, daily living, and previous products used on the walls. This step seems minor but it’s crucial for paint that actually sticks.
Next comes surface inspection and repairs. Every nail hole needs filling with appropriate compounds. Cracks need addressing before they’re painted over. Water damage needs treatment or it’ll bleed through your fresh paint within weeks. Rough patches need sanding smooth. This detailed work takes time, which is why prep typically accounts for forty to sixty percent of total project time on quality jobs.
In Michigan homes specifically, seasonal temperature changes cause wood framing to expand and contract. This creates cracks and separation that need reinforcing with mesh tape and joint compound. Painters familiar with Michigan’s climate know to look for these issues and address them properly. Someone from out of state might not understand why these repairs matter here.
Caulking is another prep step that many DIYers skip but we include. Filling gaps between trim and walls creates clean lines and prevents air infiltration. It’s a small detail that makes a noticeable difference in the final appearance and your home’s energy efficiency.
Priming is not optional despite what paint-and-primer-in-one products claim. Proper primer seals surfaces, prevents stains from bleeding through, and creates a uniform base for your finish coats. Different surfaces need different primers. Drywall needs one type, previously painted surfaces might need another, and water-stained areas need a sealer-primer. We know which primer to use where.
The prep work should be done right even in areas you won’t see once furniture is back in place. Behind your couch, above your cabinets, in corners that’ll be hidden—these areas still need proper prep. Cutting corners in hidden spots is a sign that corners are being cut everywhere, and those shortcuts will show up eventually.
Ask your painter how we protect your home during prep and painting. Drop cloths should cover floors and furniture. Plastic sheeting should protect fixtures. Outlet covers and switch plates should be removed, not just painted around. The level of care taken in protecting your belongings usually reflects the level of care taken in the actual painting work.
Hiring a house painter for open-concept living spaces comes down to finding someone who understands both the technical skills and the design challenges these homes present. You need proper surface preparation that accounts for Michigan’s climate, accurate estimates that detail exactly what you’re paying for, and expertise in creating color flow across connected spaces.
The right local painter will take time to understand your vision, explain how colors will work across your sightlines, and provide references you can actually check. We’ll give you a detailed estimate that breaks down prep work, materials, and labor. We’ll protect your home during the project and deliver results that look professional once we’re done.
For homeowners in Macomb County, MI and Oakland County, MI looking for quality residential interior painting, we bring over a decade of painting experience with a focus on competitive pricing and customer satisfaction. Reach out to discuss your open-concept painting project and get an estimate that reflects the quality workmanship your home deserves.
Article details:
Continue learning: