
Summary:
Walk into any room with peeling paint, bubbling spots, or uneven coverage, and you’re looking at one thing: skipped prep work. It’s not the paint’s fault. It’s not bad luck. It’s what happened before the first brush ever touched the wall.
Most DIY painters want to get straight to the fun part. But we spend more time prepping than painting because we know the surface determines everything. Clean walls let paint stick. Smooth walls let it lay flat. Primed walls let it last. Professional interior painting starts with careful preparation that creates a flawless, long-lasting finish.
Skip those steps, and you’re just putting expensive paint over problems that’ll show through in weeks.
Dust doesn’t just sit on your walls. Neither does the grease from cooking, the grime from daily life, or the residue left behind from years of use. Paint needs a clean surface to bond with, and when it hits dirt instead, it never really sticks.
You might not see the problem right away. The paint goes on fine. It looks good while it’s wet. But as it dries and cures, it’s trying to adhere to a layer of contamination instead of the actual wall. That’s when you start seeing bubbles, peeling edges, and sections that flake off when you brush against them.
Sanding matters for a different reason. It’s not about making the wall perfectly smooth unless you’re going for a high-gloss finish. It’s about giving the paint something to grip. A lightly sanded surface has texture at a microscopic level. Paint flows into those tiny grooves and locks in place.
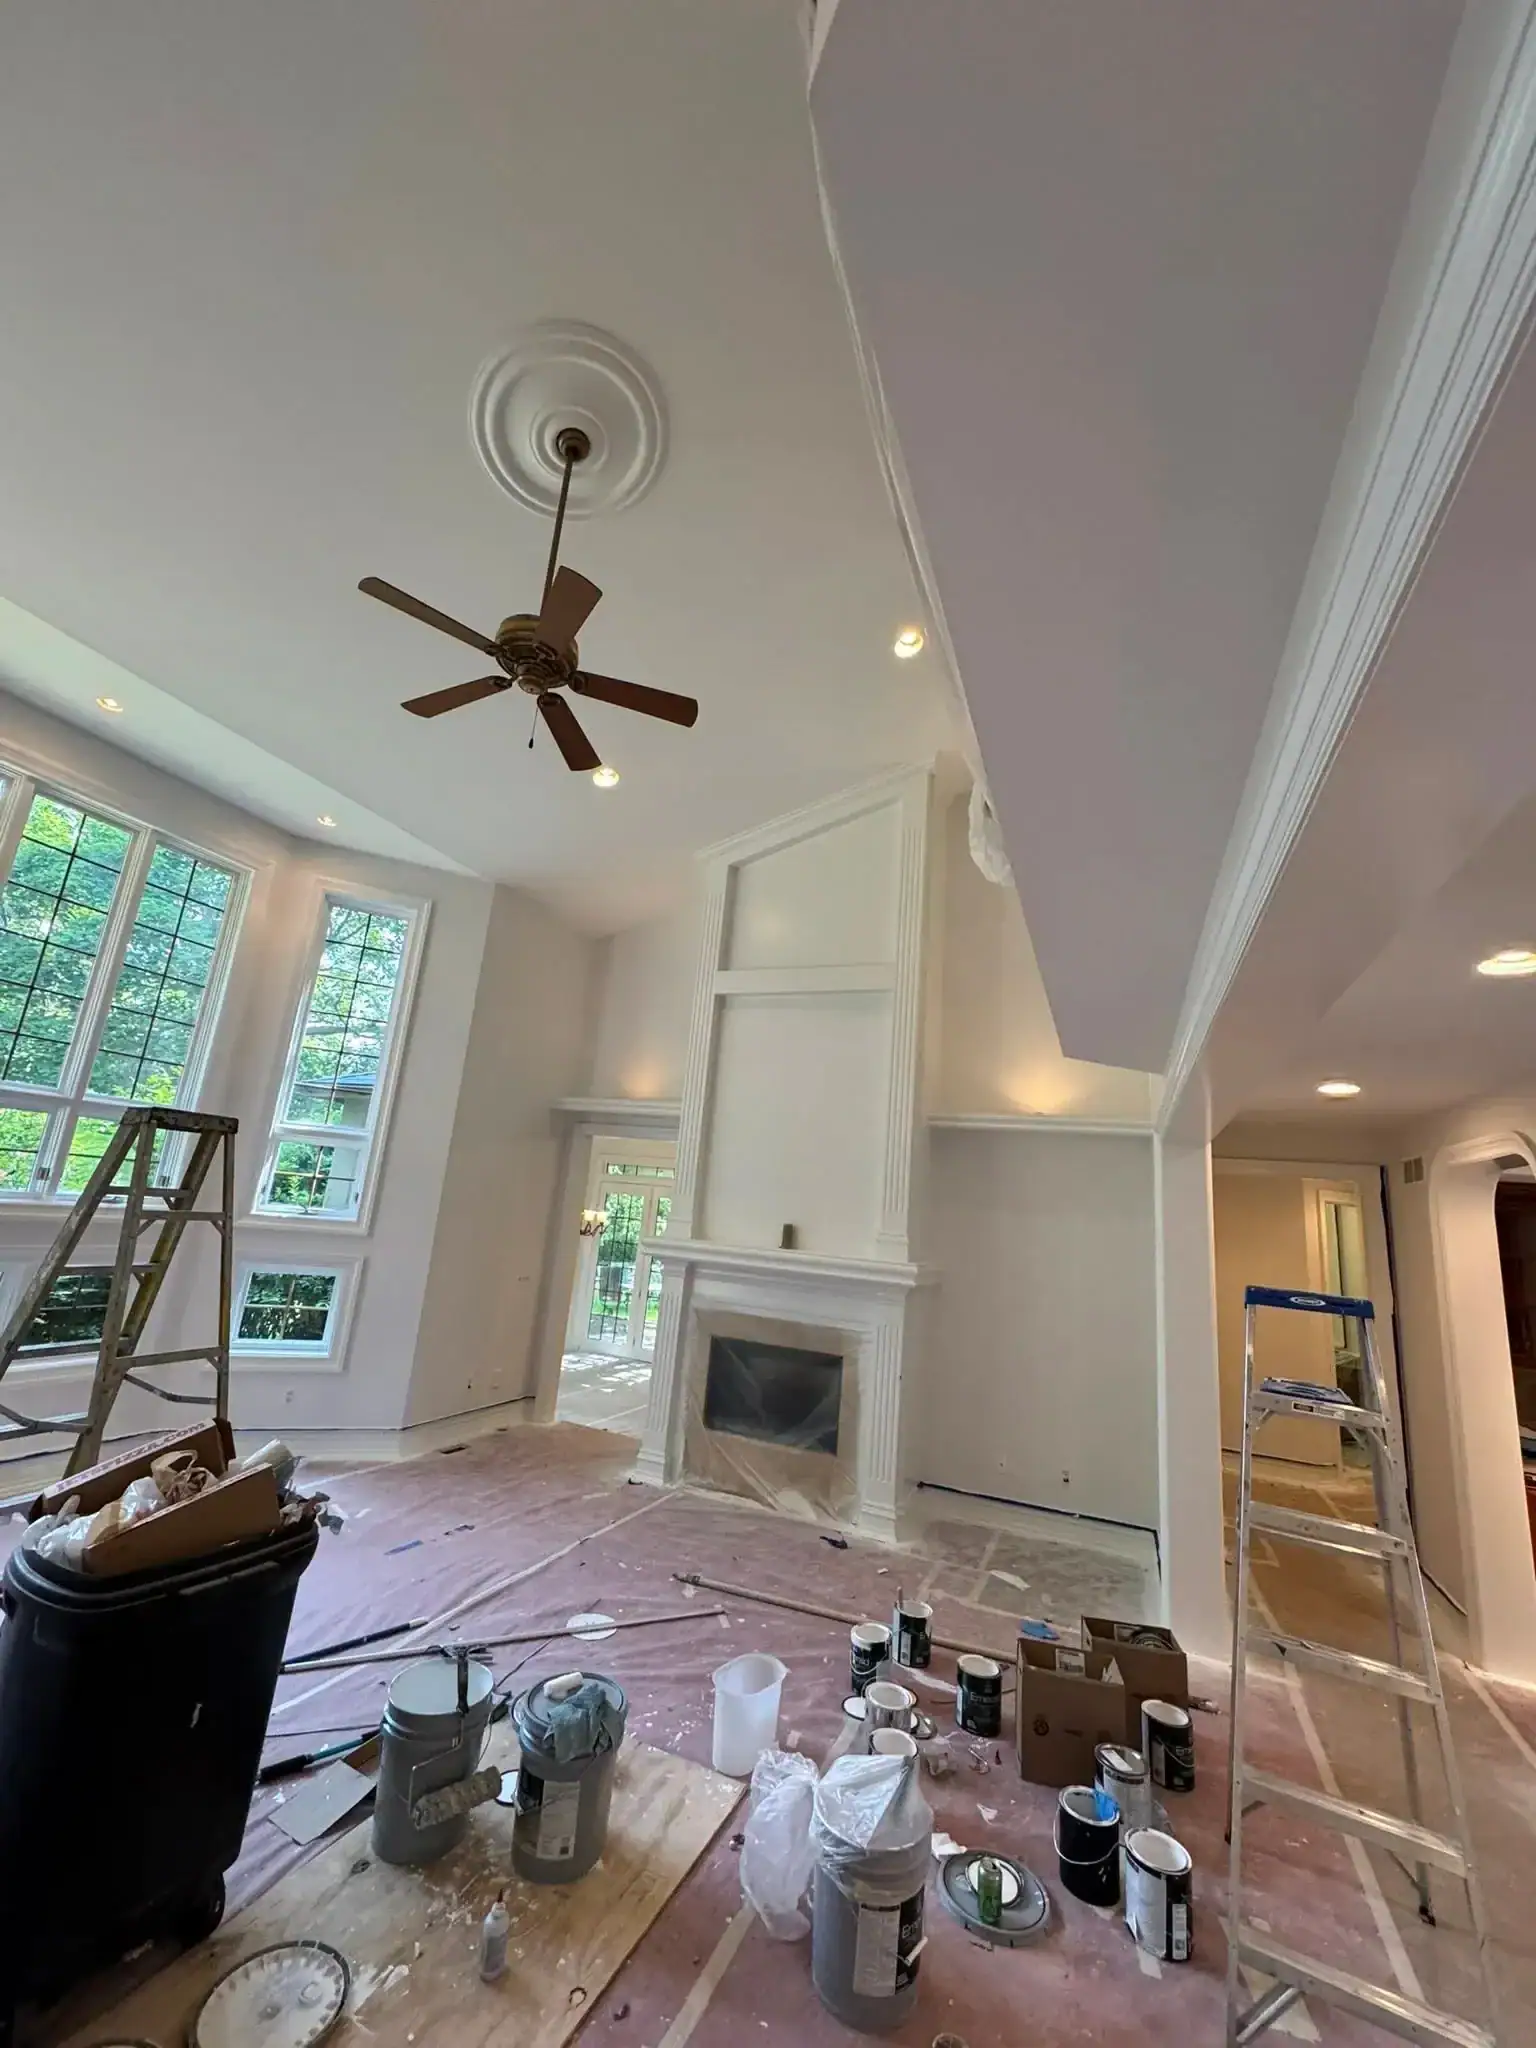
We clean walls with appropriate solutions, not just a quick wipe-down. We patch holes and cracks with the right filler, let it dry completely, then sand everything smooth. We vacuum up the dust, wipe surfaces down again, and only then do we even think about opening a paint can.
When you skip this process, you’re not saving time. You’re just moving the work to later when you have to scrape off failed paint and start over. That’s assuming you even bother to fix it instead of just living with a paint job that looks worse every month.
Primer feels like an extra step. It’s not the final color. It doesn’t make the room look finished. So a lot of people skip it, figure they’ll just do an extra coat of the actual paint, and call it good.
That approach works sometimes. If you’re painting over a wall that’s already painted, in good condition, and close to the same color you’re applying, you might get away without primer. But most situations aren’t that simple.
Primer does things paint can’t. It seals porous surfaces so paint doesn’t soak in unevenly. It blocks stains from bleeding through your new color. It creates a consistent base so your topcoat goes on smooth and covers in fewer coats. It helps paint stick to surfaces that would otherwise reject it, like glossy old paint or fresh drywall.
When you paint directly over dark colors with light paint, you’ll need three or four coats to cover. With primer, you need two. When you paint over water stains or smoke damage without primer, those marks come right back through. When you skip primer on new drywall, the paint soaks in at different rates and you end up with a blotchy, uneven finish that’s impossible to fix without stripping everything and starting over.
We choose primers based on what we’re covering. Stain-blocking primers for problem areas. High-adhesion primers for slick surfaces. Tinted primers when going from dark to light. We don’t skip this step because we know it’s cheaper and faster to prime once than to apply four coats of paint trying to compensate.
The math is simple. A gallon of primer costs less than a gallon of paint. It goes on faster. It saves you money and time on topcoats. The only thing it costs is patience, and that’s usually what DIY projects run out of first.
Want live answers?
Connect with a Legends Painting expert for fast, friendly support.
Even with perfect prep work, the way you apply paint determines whether your walls look professionally done or obviously DIY. The mistakes happen fast. Too much paint on the roller. Brushstrokes that don’t blend. Sections that dry before you finish the wall.
These aren’t problems you can fix after the fact. Once paint dries with drips, ridges, or visible lines, your options are either live with it or sand it down and repaint. Most people live with it. We don’t make these mistakes in the first place.
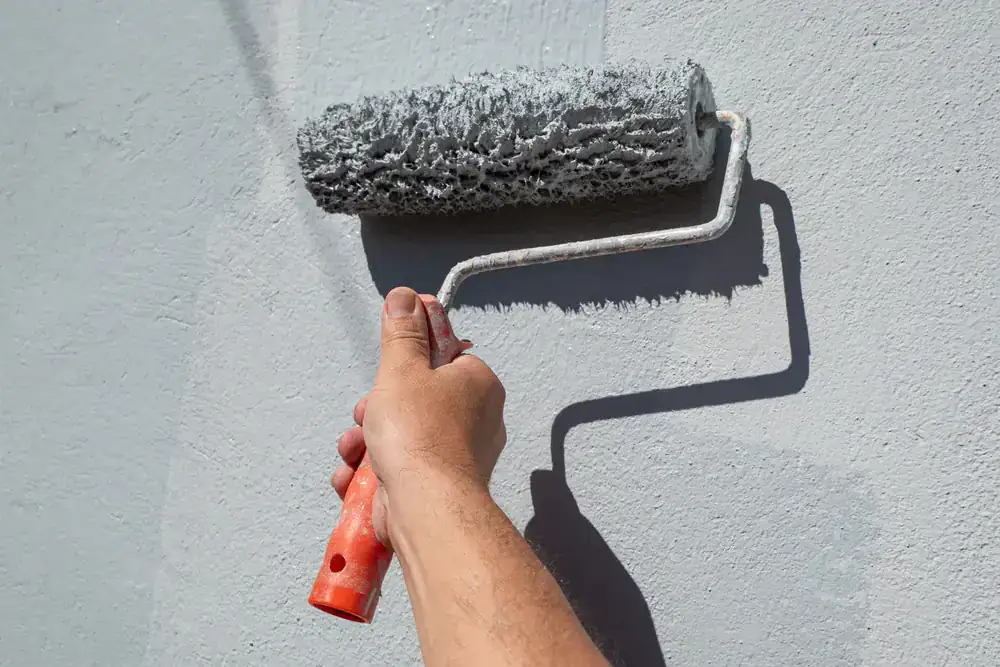
Drips happen when you load too much paint on your brush or roller. It seems logical that more paint means faster coverage, but physics doesn’t care about your timeline. Overloaded tools can’t hold the paint evenly, so it runs.
The fix isn’t complicated, but it requires discipline. Dip your brush only a third of the way into the paint. Tap off the excess against the inside of the can, don’t wipe it on the rim. For rollers, load them in the tray, then roll off the excess on the textured part until the paint distributes evenly across the nap.
Apply paint in thin, even coats. This takes longer than slapping on one thick layer, but it dries faster, looks smoother, and actually covers better because you’re not fighting gravity and surface tension. Two thin coats beat one thick coat every time.
Uneven coverage usually comes from one of three problems. First, you’re not maintaining a wet edge. That means you’re letting sections dry before you blend into them, creating visible lines where wet paint meets dry. Work in manageable sections and keep moving.
Second, you’re not using enough paint or you’re stretching it too thin trying to make the gallon last. Paint needs to be applied at the proper thickness to cover and level correctly. Trying to save money by using less just means you’ll need more coats, which costs more in time and materials.
Third, your roller or brush quality is garbage. Cheap tools shed fibers, hold paint poorly, and create texture instead of smoothness. We use quality applicators because we know the tool affects the result as much as technique does.
If you’re seeing the old color through two coats, you either skipped primer when you needed it, you’re applying the paint too thin, or you chose a paint with poor hiding power. Quality paint costs more per gallon but covers better, which means you use less of it.
Paint looks dry to the touch long before it’s actually ready for another coat. Touch dry and recoat dry are different things, and ignoring that difference is how you end up with a sticky, damaged finish that never fully cures.
When you apply a second coat too soon, you’re not adding a layer on top. You’re disturbing the layer underneath. The solvents in the new paint reactivate the coat below, pulling it up, creating a tacky mess that can take days to harden properly if it ever does. You’ll see this as smudging, peeling, or areas where the paint never quite sets.
Every paint can lists recoat times. They’re not suggestions. They’re minimums based on ideal conditions, which means good ventilation, moderate temperature, and normal humidity. If your room is cold, damp, or poorly ventilated, you need to wait longer.
Most latex paints say you can recoat in two to four hours. That’s under perfect conditions. In reality, waiting four to six hours is smarter. Overnight is even better if you’re not in a rush. Oil-based paints need a full day between coats, sometimes more.
We plan our schedules around drying times. We’ll paint one room, move to another, then come back when the first is actually ready for the next coat. We don’t stand around watching paint dry, but we also don’t rush the process and compromise the result.
The same applies to rushing the final cure time. Just because paint is dry enough to recoat doesn’t mean it’s ready for normal use. Latex paint needs about two weeks to fully cure. During that time, it’s vulnerable to damage. Scrubbing it, bumping furniture against it, or even hanging pictures can leave permanent marks.
Patience isn’t exciting. It doesn’t feel productive. But it’s the difference between a paint job that lasts ten years and one that looks worn out in two.
Some painting projects make sense to tackle yourself. A small accent wall. Touch-ups. A single room where mistakes won’t haunt you. But most interior painting jobs benefit from professional expertise, especially when you factor in the time, effort, and risk of having to redo everything.
As professional painters in Richmond, MI, we bring more than just experience. We bring the right tools, quality materials, proper techniques, and the knowledge to handle problems before they become expensive mistakes. We prep correctly, apply evenly, and deliver results that last years instead of months.
If you’re dealing with multiple rooms, high ceilings, damaged walls, or you just don’t have weeks to dedicate to a painting project, calling Legends Construction LLC means you get quality work at competitive pricing without the DIY headaches. The job gets done right the first time, and you get your evenings and weekends back.
Article details:
Continue learning: